Setup Stripe Invoicing
Enabling Invoices for Stripe Payment Links
To enable invoices for Stripe payment links, follow these steps:
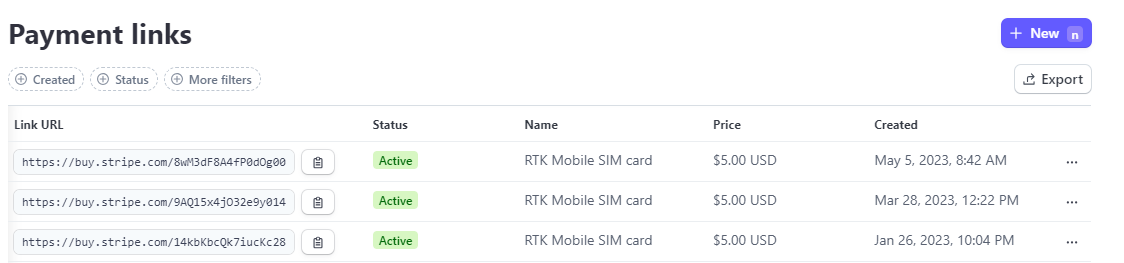
- Go to the Stripe Payment Links page or click on More + and then Payment links on the Stripe dashboard.
-
For each active Payment link that you want to automate shipping for, click the … button next to the Payment link and select Edit.
-
Click the After payment tab.
-
In the Post-payment invoice section, turn on the Create an invoice PDF option.
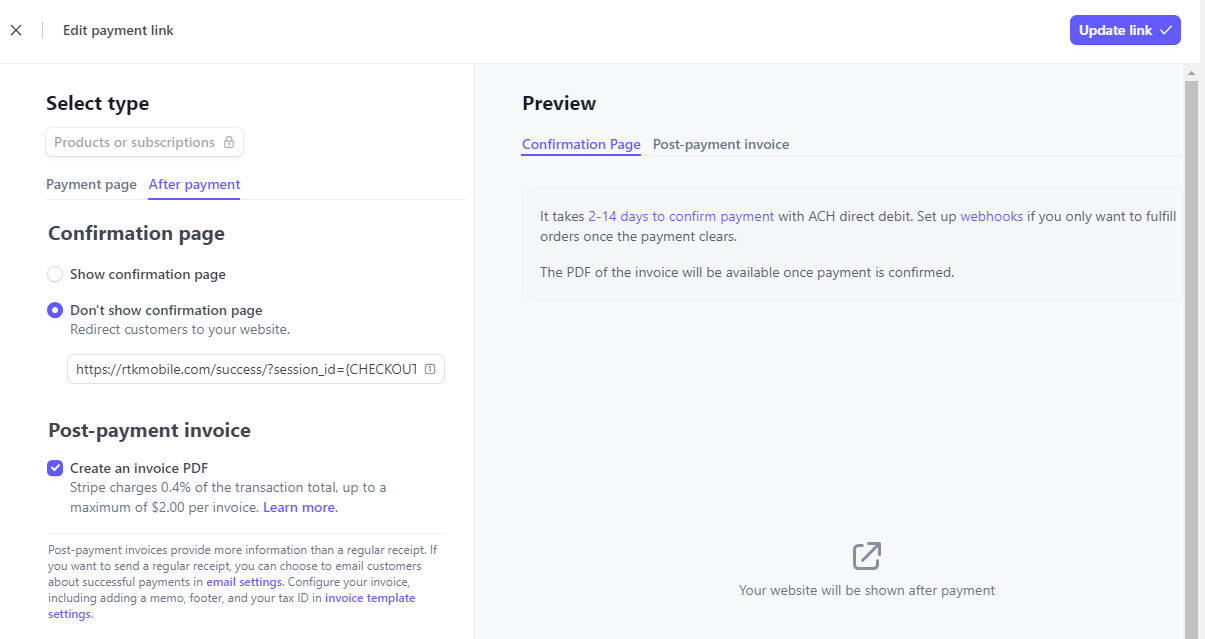
- Save the changes to the Payment link by clicking the Update link button.
By enabling invoice creation for your Payment links, Parcelcraft will be able to access the necessary order information to automate the shipping process.
Enabling Invoices for Stripe Checkout Sessions
If you are using the Stripe API for Checkout Sessions, you need to set the invoice_creation.enabled parameter to true when creating the Checkout Session. Here’s an example:
const session = await stripe.checkout.sessions.create({
  payment_method_types: ['card'],
  line_items: [
    {
      price_data: {
        currency: 'usd',
        product_data: {
          name: 'T-shirt',
        },
        unit_amount: 2000,
      },
      quantity: 1,
    },
  ],
  mode: 'payment',
  success_url: 'https://example.com/success',
  cancel_url: 'https://example.com/cancel',
  invoice_creation: {
    enabled: true,
  },
});
For more information on enabling invoices for Checkout Sessions, refer to the Stripe API documentation.
If you have any further questions or need assistance with setting up Stripe invoicing for Parcelcraft, please don’t hesitate to reach out to our support team at support@parcelcraft.com.